The Essentials of the English Language (EEL) Guide
Its big, it comes shrink wrapped and 3 hole punched. You have to purchase it from Classical Conversations. You must be enrolled in a community to purchase it. It is required resources.
Once you get this beast of a guide you need to put it into a binder and put some tabs on it. First a few notes about putting it into a binder. My first year I put every single page into a slipcover. The next year I took all the slipcovers off. My husband just shook his head and said, "I am not even going to ask." It all depends on how you like to use your "teacher guides." Do you like to write in them or on them? Some people like to put 6 weeks at a time into smaller binders so it is more manageable. I have seen some guides spiral bound! After 5 years I have no slipcovers and everything in one binder. Keeping it simple.
Before you tab your guide and start marking it all up let me give you an overview of what is in your guide.
(Actually, pick one color tab and place it on the top of each of these pages. Write the bolded word on the tab.)
Page 9 Part 1 - The Expedition
You need to read this. It will communicate the heart and vision behind the Essentials program.
Page 19 Part II - The Itinerary
This is the nuts and bolts of the program. It's in here that you get what to do each week, Scope and Sequences etc. No need to read this straight through. Take a look and familiarize yourself with the format. I will share more about this section later.

Page 395 Part III - The Gear
I do recommend putting these pages in slipcovers as you will be using them quite frequently. Believe it or not you and your student will know and understand all of these charts by the end of the year.
Page 443 Part IV - The Excursions
This section contains advanced charts and a spelling program option. If you have a spelling program you use feel free to continue with it. If you do not you may utilize this one.
Now that you have put tabs on the major sections of the Guide lets add some more.
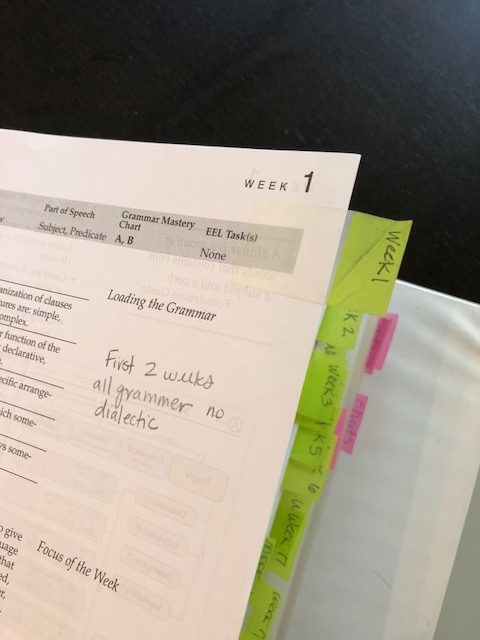
Select another color tab. You will be writing on them Wk 1, Wk 2, Wk 3, Wk 4 and so forth to week 24. Week 1's lesson starts on page 27. Put the Wk 1 tab on the top right corner. Week 2 begins on page 35, place its tab on the top right corner slightly lower. Keep working through all 24 weeks.
Finally, select a different color and tab the following pages that are important to note or good gems to know about.
- Page 20 Offers 0ne page at a glance of the Scope and Sequence.
- Page 51 - In week 3 there are several pages devoted to explaining the process of the Analytical Task Sheet
- Page 396 - A Glossary of Abbreviations for Diagraming
- Page 397 - Snapshot what charts to study and on what days.
- Page 435 - Snapshot of the weekly sentences
- Page 437 - A blank Copy of the Analytical Task Sheet
- Page 439 & 441 - Quid et Quo Worksheet
- Page 445 - 8 Parts of Speech Definitions
- Page 457 - Section on Punctuation & Capitalization Rules
- Page 461 - Spelling Rules and Lists
That's your guide set up and ready for you the teacher to use. Each week before class take a few moments to read the lessons. Make notes about what you don't understand. It is highly likely your tutor will answer your questions in class. If they don't ask! Every tutor wants parents to go home feeling equipped to help their student. Note: Your tutor does not have anything you do not have.
Now let's move on to getting your student set up with a student binder.